How to draw your first plan
Start a plan, load the builder’s drawing, drop your products on it and save — the whole thing in ten minutes.
Mark up the builder’s plan once, properly, and it becomes your product list, your customer’s plan and your quote. No more highlighters and lost paper copies.
The big picture
- Builder’s PDFUpload it, pick the page, crop
- PlanPlace lights, switches, powerpoints
- Auto-QuotePriced at your rates
- Customer acceptsE-sign, plan inside the quote
- JobLines copied onto the job card
A plan is a marked-up floor plan. Every light, switch and powerpoint you drop on it is counted as you go. From there you can send the customer a live plan, download a PDF or product list, and turn the lot into a priced quote in one tap.
This article gets you from nothing to a saved plan. The other articles in Plans go deeper on each part.
Plans are part of robot Plan. robot Quote accounts don’t include the planner.
Start a new plan
- 1Open Plans.
- 2Tap + New plan.
- 3Choose Electrical (lighting, powerpoints, switches — standard sparkie job) or Smart Home (data, AV, alarm, network).
- 4Pick the customer, or add a new one with their address. A plan needs a customer before it starts.
- 5Type a Plan name, or leave it blank to use the site address.
- 6Tap Start planning →.
Load the floor plan
No plan yet? Tap ✏️ Draw a floor plan to sketch walls on the grid, or just start placing items on a blank canvas.
- 1Tap Upload your floor plan and pick a PNG, JPG or PDF. A photo of a printed plan works too.
- 2For a PDF, tap the page with the plan on it.
- 3Crop to just the plan and tap Crop & place → (or Use as-is).
More on PDFs, cropping and extra levels: How to upload a floor plan and add floors.
Drop your products on
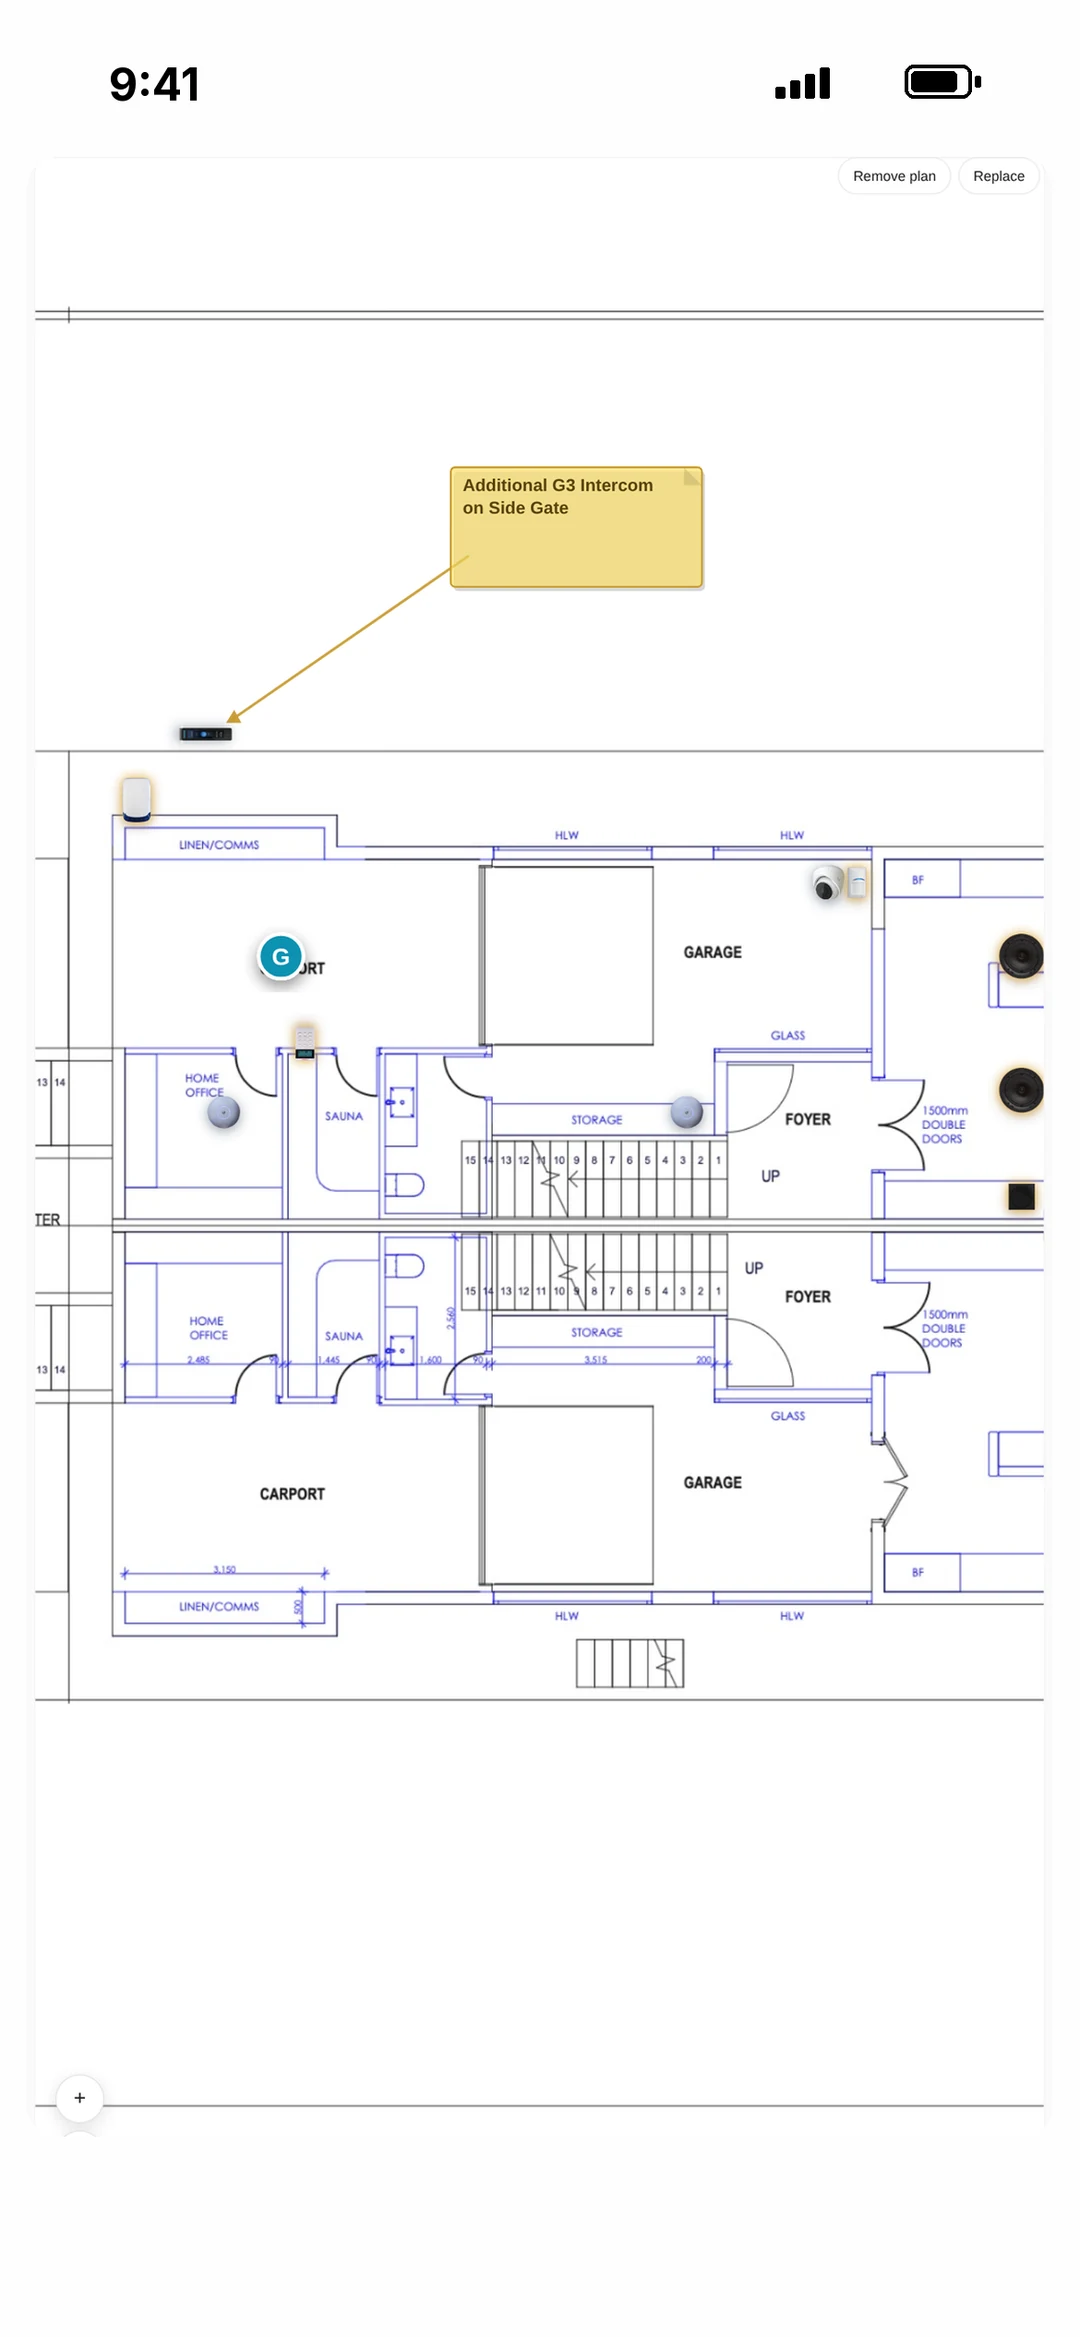
Items show as real product pictures, so the customer can see what they’re getting.
- 1Tap the blue Add Products button.
- 2Open a category, like Powerpoints & switches or Lights, or search for what you need.
- 3Tap a product, then tap the plan where it goes. Or drag it straight from the list onto the plan.
- 4Tap a placed item and use the i (Details) button to set it up — gangs on a switch, the type of powerpoint, the mounting height.
See How to add products to a plan for every category, and How to set up switches and 2-way switching for switch details.
Save as you go
Tap Done in the top bar to save. The pill at the top shows Saving… then Saved to your portal.
Once a plan has been saved, it saves itself a couple of seconds after every change. Lost signal on site? It keeps a copy on your device and tells you it’s Saved on this device.
When you open a saved plan later, it opens ready to view. Tap Edit to make changes.
Take the guided tour
Want a hand the first time? Tap Tools → Help. robot walks you through loading a plan, placing a switch, naming it, adding a light and an LED strip, linking them, resizing, filtering and Next steps. Tap Skip any time.
The tour drops practice pins on your plan. It finishes by asking you to clear them, so do the tour on a spare plan if you like.
What’s next
- Turn it into a quote: How to turn a plan into a quote.
- Send it to the customer: How to share a plan with your customer.
- Print or download it: How to download the plan PDF, product list and materials.