How to get started with robot Pay
Take card, Apple Pay and Google Pay on every invoice, and on site with Scan to Pay. No terminal, no monthly fee.
Cash flow is the lifeblood of a trade business. The faster a customer can pay, the faster you’re paid, and the less time you spend chasing. robot Pay puts a Pay now button on every invoice you send, and lets customers pay on the spot from their own phone.
Why get paid through robot Pay?
Most late payments aren’t customers refusing to pay. They’re customers who meant to, then forgot to open their banking app. When the invoice has a Pay now button right on it, they can pay in seconds, the moment they open it.
robot Pay takes card, Apple Pay and Google Pay. It’s powered by Stripe, but your customers only see your business name and robot Pay.
When a card payment goes through, the invoice marks itself Paid, the customer gets a receipt, and you get a “Payment received” notification. No ticking boxes, no matching up bank statements.
How do payments work on site?
Finished the job and the customer is standing right there? Use Scan to Pay. robot creates the invoice from the job and shows a QR code on your phone. The customer points their phone camera at it and pays by card, Apple Pay or Google Pay on their own phone.
You don’t need a card reader or a terminal. The QR screen updates by itself the moment the payment goes through.
Step-by-step: How to take payment on site.
How do invoice payments work online?
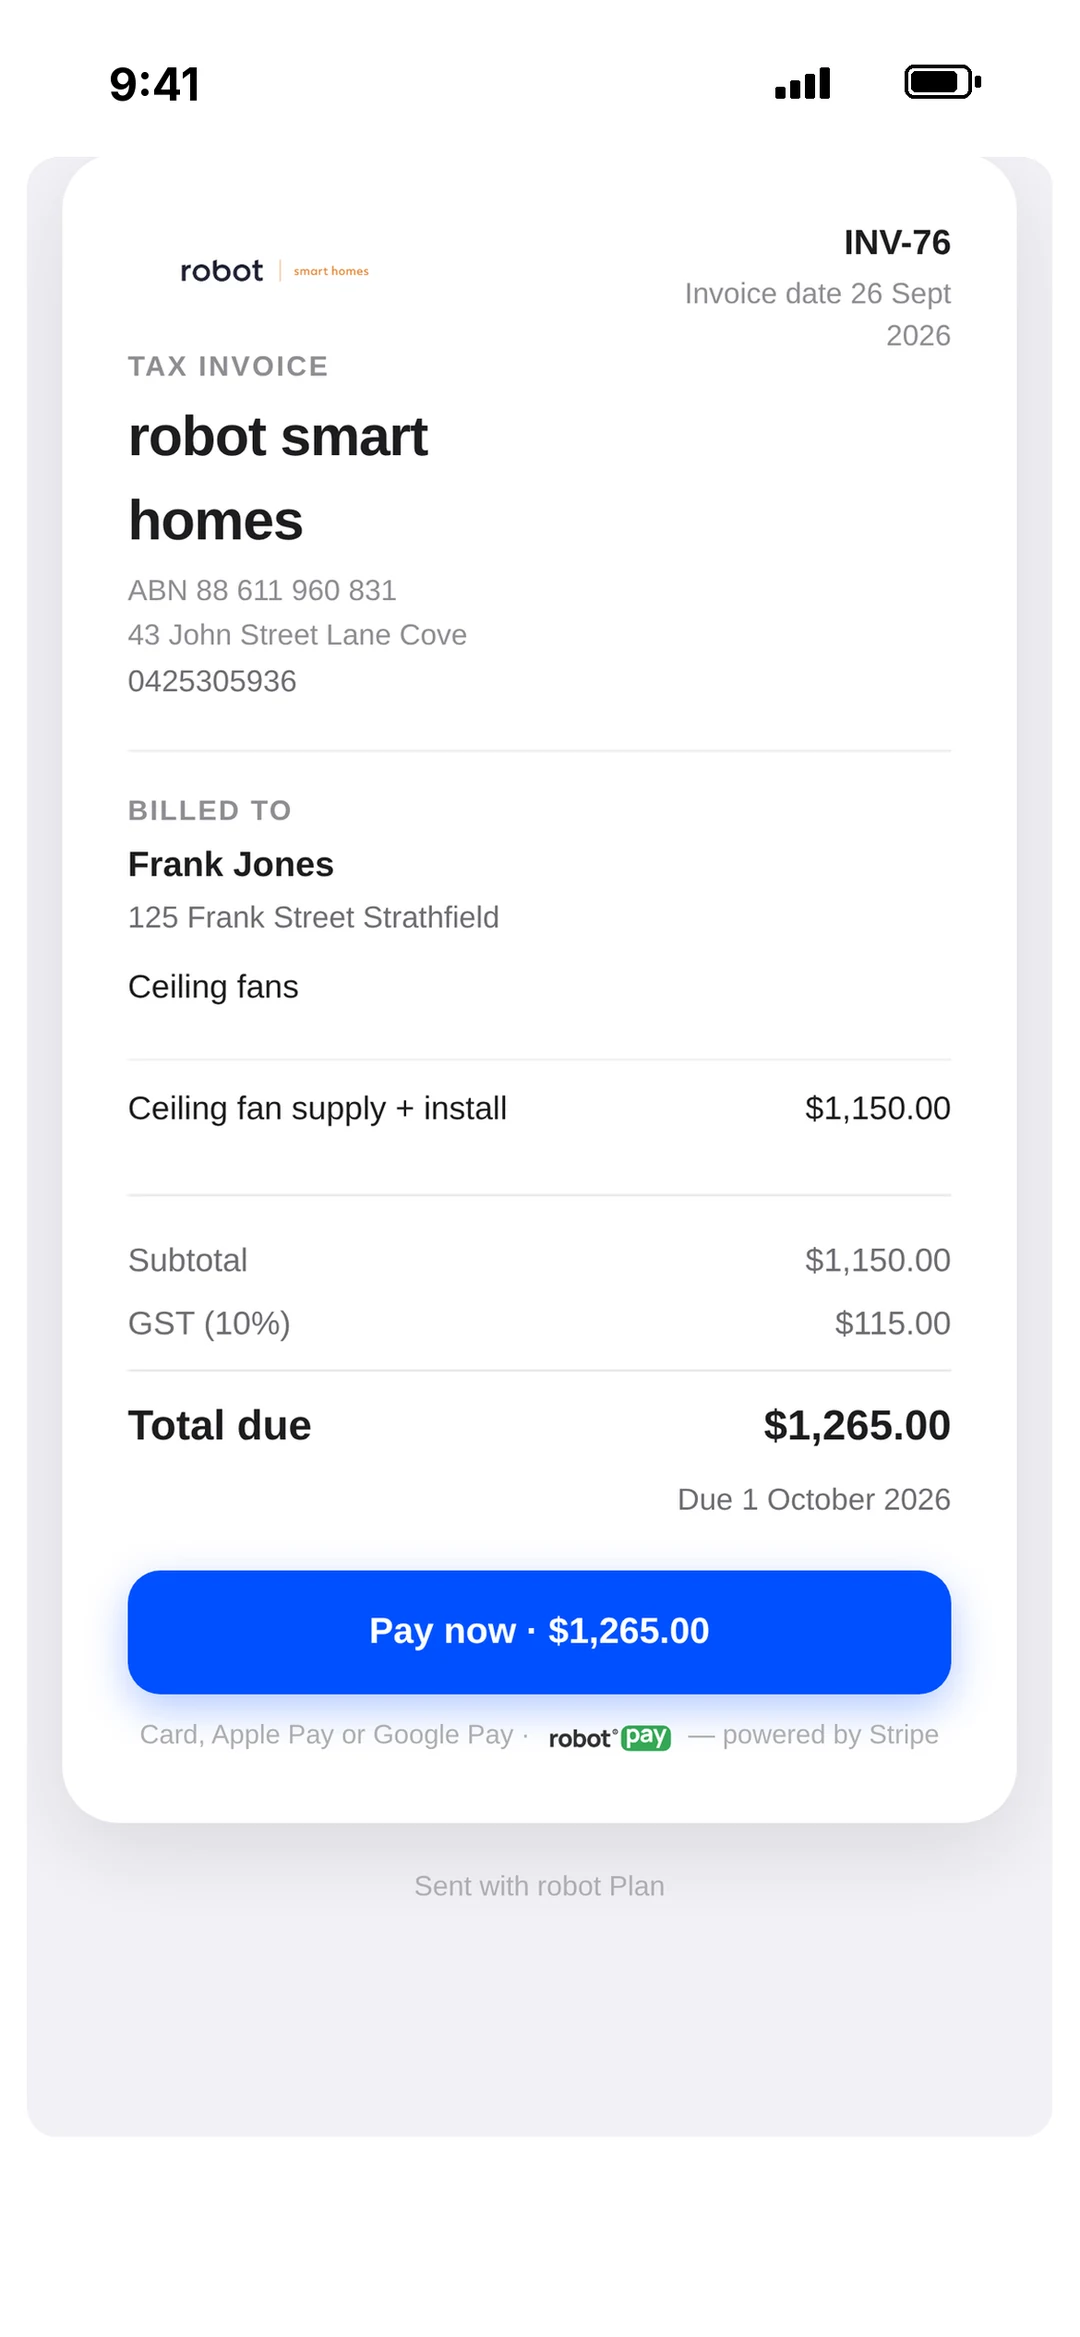
Every invoice you send by email links to a clean web invoice with your logo, ABN and business details. Once robot Pay is active, that invoice shows a big Pay now button with the amount.
The customer taps it, pays by card, Apple Pay or Google Pay, and lands back on the invoice, now showing PAID ✓. If you’ve added bank details in Settings, the invoice also shows a “Pay to” block for customers who’d rather do a bank transfer.
How does the payment process work?
- 1Payment. The customer pays by card, Apple Pay or Google Pay, either from the invoice link or by scanning your Scan to Pay code.
- 2Processing. Stripe processes the payment securely. robot marks the invoice Paid, emails the customer a receipt (plus an SMS receipt when they have a mobile on file), and sends you a “Payment received” notification.
- 3Transfer. The money goes to the bank account you nominated during setup, on Stripe’s standard payout cycle (usually about 2 business days).
What does it cost?
2.4% + 30¢ per successful payment. That’s it. No monthly fee, no terminal to buy or rent, and nothing to pay in a month you don’t use it.
From 1 October 2026 card surcharges are banned Australia-wide, so you can’t pass card costs on at payment. Build your cost of taking payments into your quoted prices instead.
How do I set up robot Pay?
Setup takes about 5 minutes. Stripe asks for your business details and the bank account you want payouts to go to, so have your ABN and bank details handy.
- 1Open Settings and tap robot Pay.
- 2Tap Set up robot Pay.
- 3Read the summary, then tap Yes — activate robot Pay.
- 4Follow Stripe’s secure setup: confirm your business details and add the bank account for payouts.
- 5When you’re sent back to robot, the robot Pay row shows Active. Every invoice now has a Pay now button.
Also add your ABN in Settings → Business settings so it prints on your invoices, and your bank details in Settings → Invoicing for customers who pay by transfer.
Didn’t finish setup in one go? The row shows Finish setup. Tap Finish robot Pay setup to pick up where you left off. robot Pay is set up by the account owner.