How to send an invoice
Turn a finished job into an invoice, check the lines and send it to your customer by email, text or both.
Your invoice builds itself from the job: the customer, the products and the labour all come across. Check it, send it, and the customer gets a clean web invoice they can pay straight away.
Create the invoice from a job
The quickest way is straight from the job card, when you finish up.
- 1Open the job and tap Finish job.
- 2Choose Invoice Now. You’ll see every billable line, the GST and the total.
- 3Tap Send quick invoice to mark the job done and send the invoice to the customer in one go (by email, or by text if they only have a mobile on file). Or tap Scan to Pay if they’re paying on the spot.
Prefer to check it first? Choose Job completed instead, then tap the green Send to invoicing button on the job. The invoice is saved as a draft under Invoicing → Drafts for you to review and send.
Or start one from Invoicing
- 1Go to Work → Invoicing and tap the green +.
- 2Pick a finished job under Or from a finished job (tap Invoice ›), or tap Start from scratch to make a blank invoice and pick the customer.
Check the lines
While an invoice is a draft you can change it. Tap + Add product or labour to pick from your Products, or + Custom item for a one-off line. Use − and + to change quantities, or tap a line to edit its name and price.
Under Customer view, choose Price per item or Total only to decide whether the customer sees each line’s price. Tap Preview invoice — exactly what the customer sees to check it before it goes.
The due date comes from your payment terms. Set them, plus your bank details and invoice numbering, in Settings → Invoicing.
Send it
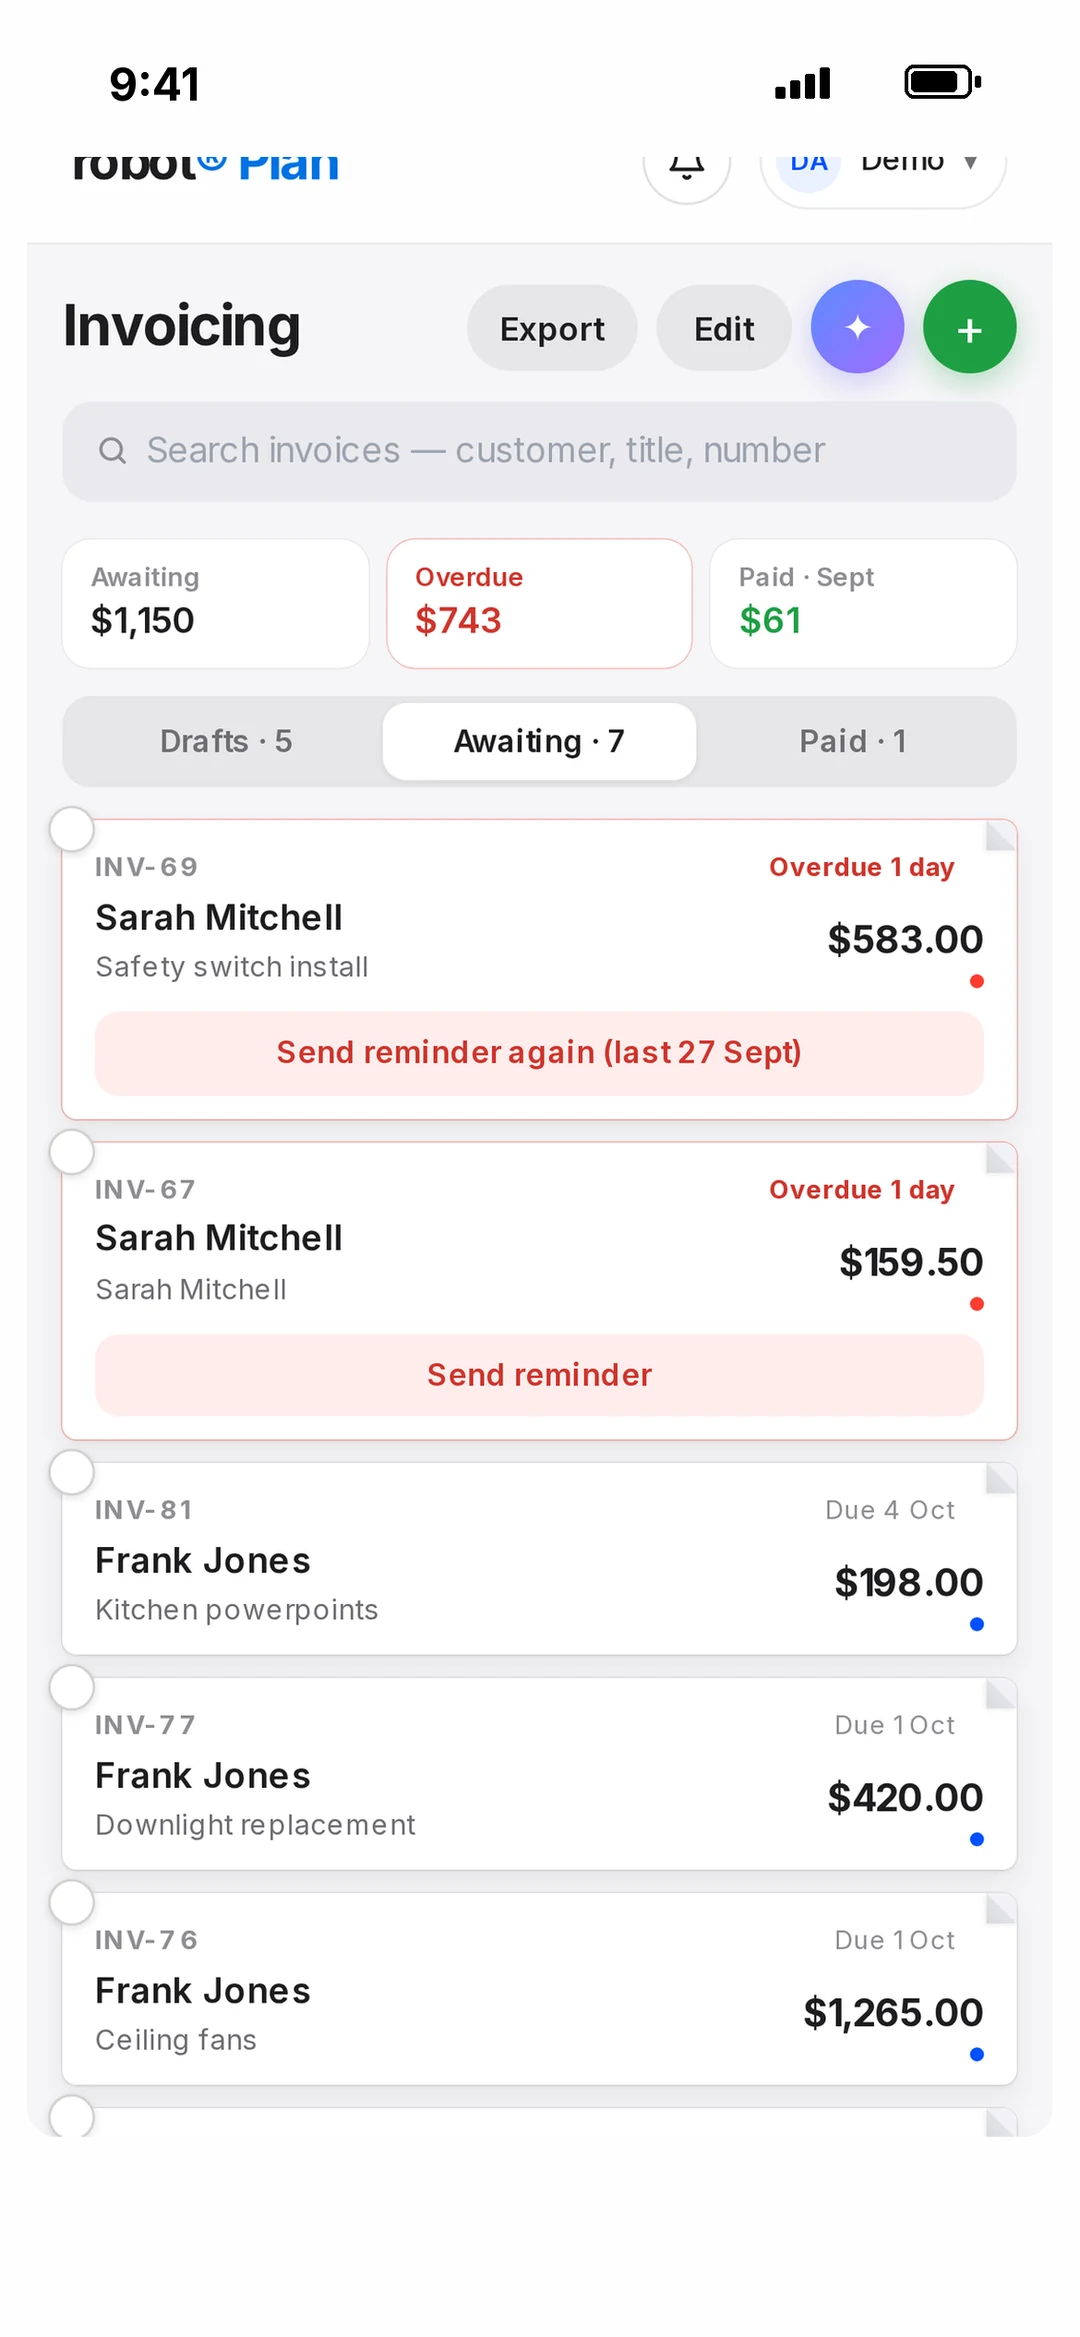
The invoice moves to Awaiting. Need to send it again? Open it and tap Send again.
Sending a few at once? In Invoicing, tick the round checkbox on each draft, then tap Send invoices and Confirm & send.
- 1Under Send by, tick Email, Text or both. Check the email address and mobile number, and change them if you need to.
- 2Tap Send invoice, then Send to confirm.
The text is a short message from your business with a link to view and pay the invoice. Change its wording in Settings → Templates → Invoice SMS. Sending a few at once from the list emails each one, or texts it when the customer only has a mobile.
What the customer sees
The customer gets an email from your business name with the lines, the total, a View invoice button and the invoice attached as a PDF. You can change the wording in Settings → Templates → Invoice email.
The web invoice shows your logo, ABN and address, what they’re paying for, the GST and the due date. With robot Pay active there’s a Pay now button. If you’ve added bank details, there’s a “Pay to” block with your BSB, account number and the invoice number as the reference.
Xero
If you’ve connected Xero, invoices go to Xero when they’re marked paid. You can also tick invoices in the list and tap Sync to Xero. Drafts stay in robot until you send them. See Connect Xero.